Give your main kitchen surface a clear purpose: chopping, breakfast, baking, or washing up. Each arrangement pairs a distinct palette with a home for the things you put away.
 Concept image
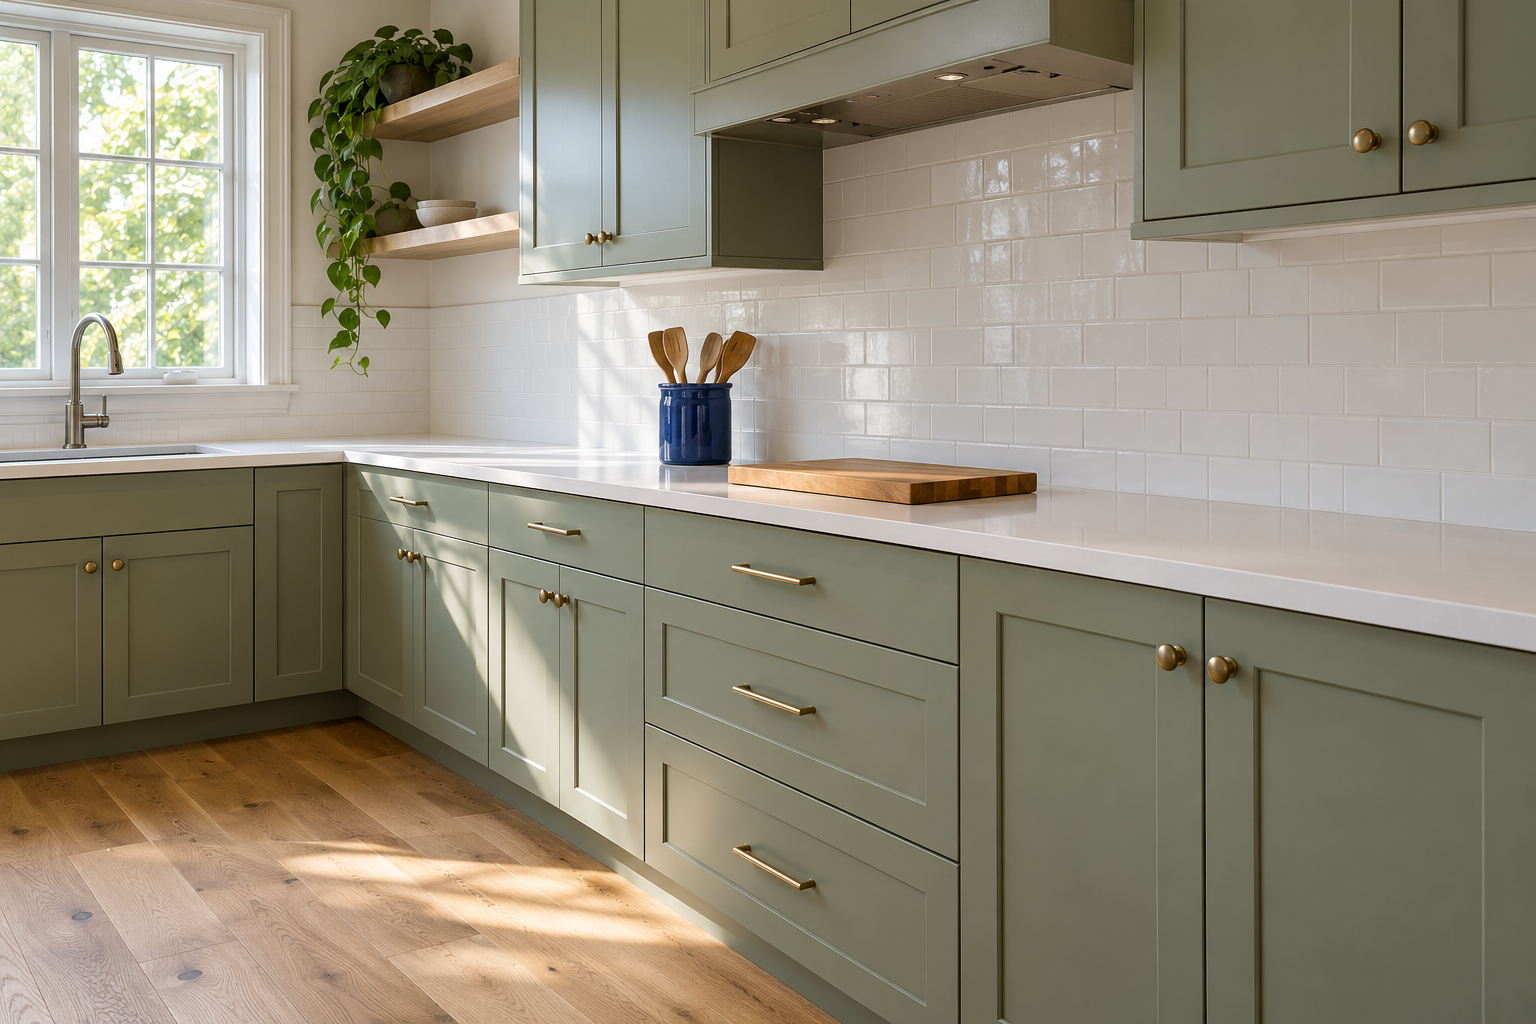
Start with the task you want the counter to support. For daily chopping, place a cobalt crock of wooden utensils at one end and leave the adjoining surface open. If breakfast, baking, or washing up matters more, give that activity the same deliberate place.
Explore the ideas
1. Daily Chopping: Cobalt at One End
For a prep-led kitchen, group wooden utensils in a cobalt crock at one end of the counter, leaving the adjoining stretch for your chopping board and ingredients. The upright blue shape gives the arrangement a distinct edge; warm wood offers a softer companion to the saturated ceramic.
Keep the utensils you use daily in the crock and move occasional tools into a nearby drawer. Between meals, return the clean, dry board to its cabinet so the open surface remains part of the look. Choose this arrangement if chopping vegetables is a daily habit and permanent appliance displays would compete with it.
2. Breakfast: Cream Mugs and Tomato Red
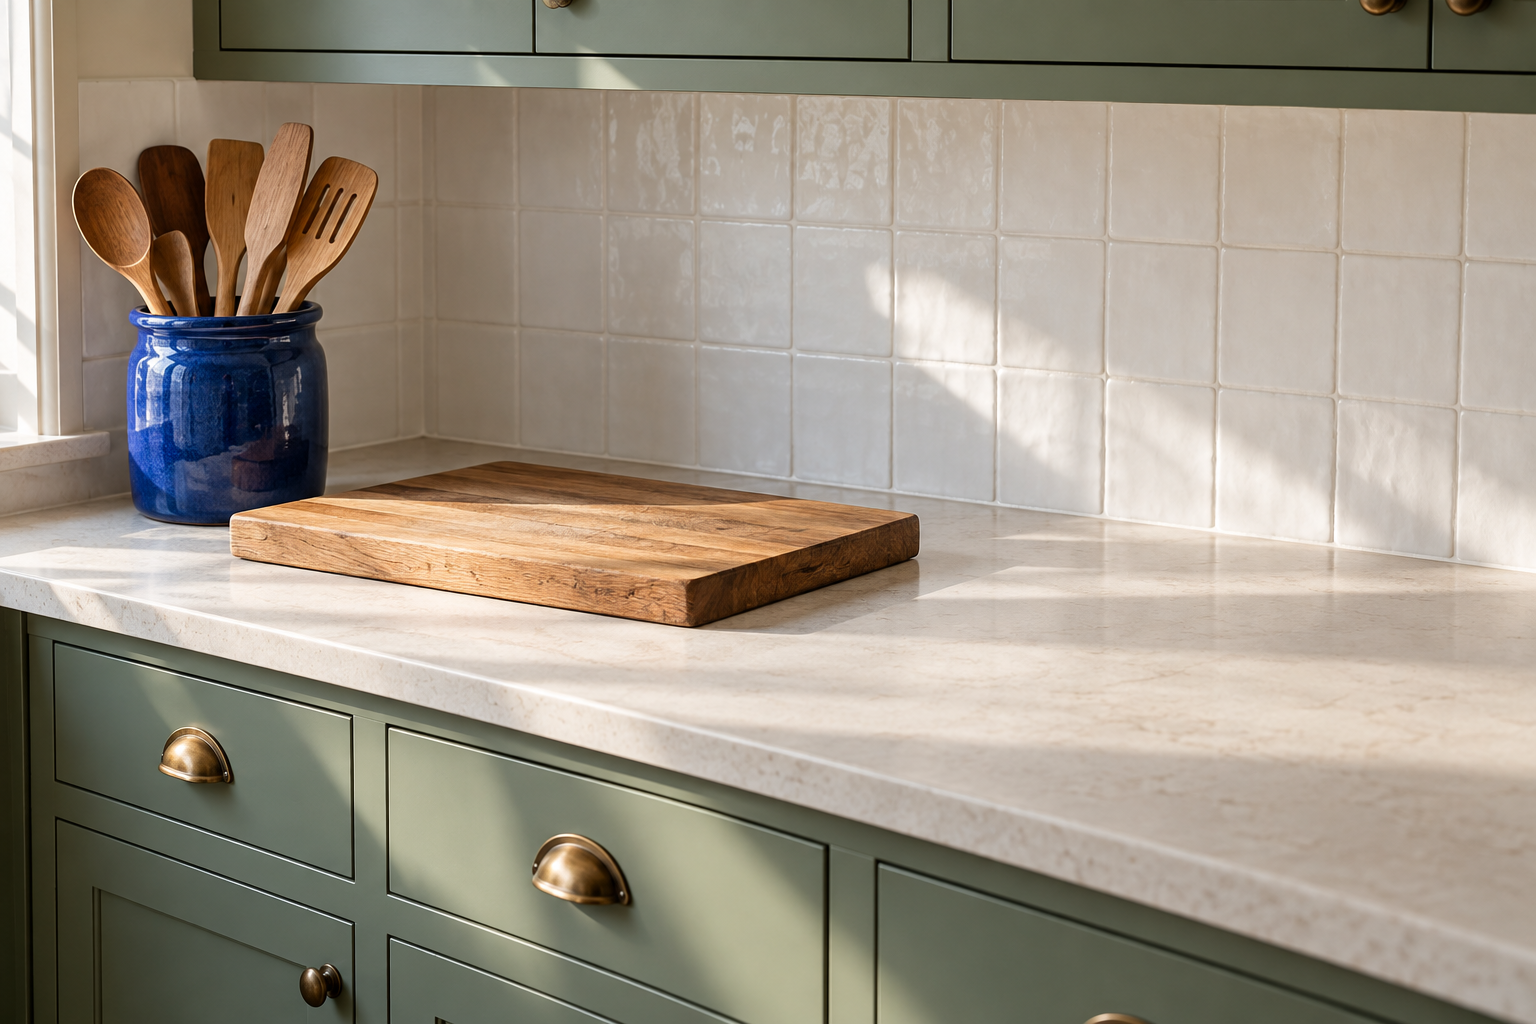
For an appliance-led breakfast corner, start with the appliance you regularly use—a toaster in this version—and pair it with two cream mugs and a tomato-red dish. Cream makes a gentle companion to the appliance, while the red dish supplies a sharper accent. Choose this grouping when breakfast deserves a permanent place on the counter.
Store spare mugs and breakfast packets in a nearby cabinet, leaving the red dish empty between meals rather than filling it with wrappers. Keep the ceramics outside the appliance's required operating clearances and follow its instructions during use. If breakfast equipment comes out only on weekends, the prep-led arrangement may suit your weekdays better.
3. Baking: One Ochre Accent, Tools Below
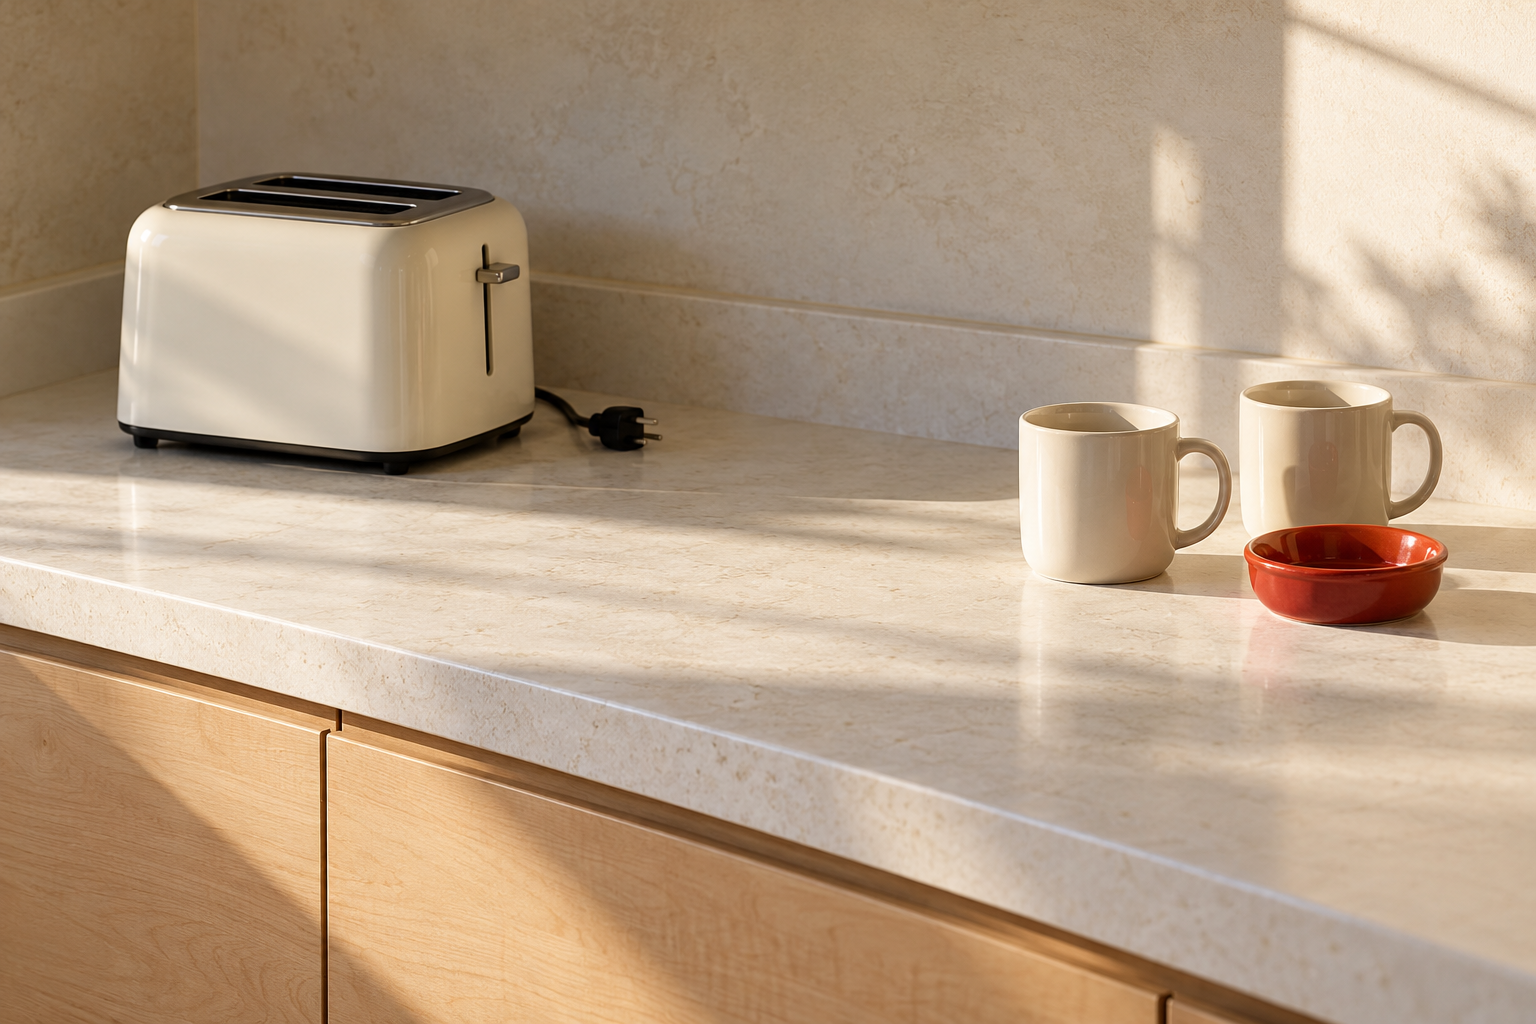
If rolling dough and mixing are your priority, keep one plain ochre canister at the back of a broad, otherwise open counter. Its rounded shape gives the spare surface a focal point without establishing a permanent appliance display. Against a pale counter, the earthy yellow offers color without needing a cluster of decorative objects.
Store mixing bowls below and gather baking tools in a removable box beside them, keeping long utensils accessible rather than buried beneath the bowls. Bring the kit out for baking and return it afterward. Between sessions, the canister stands alone; choose this quieter composition when you prefer a broad working surface to a breakfast station.
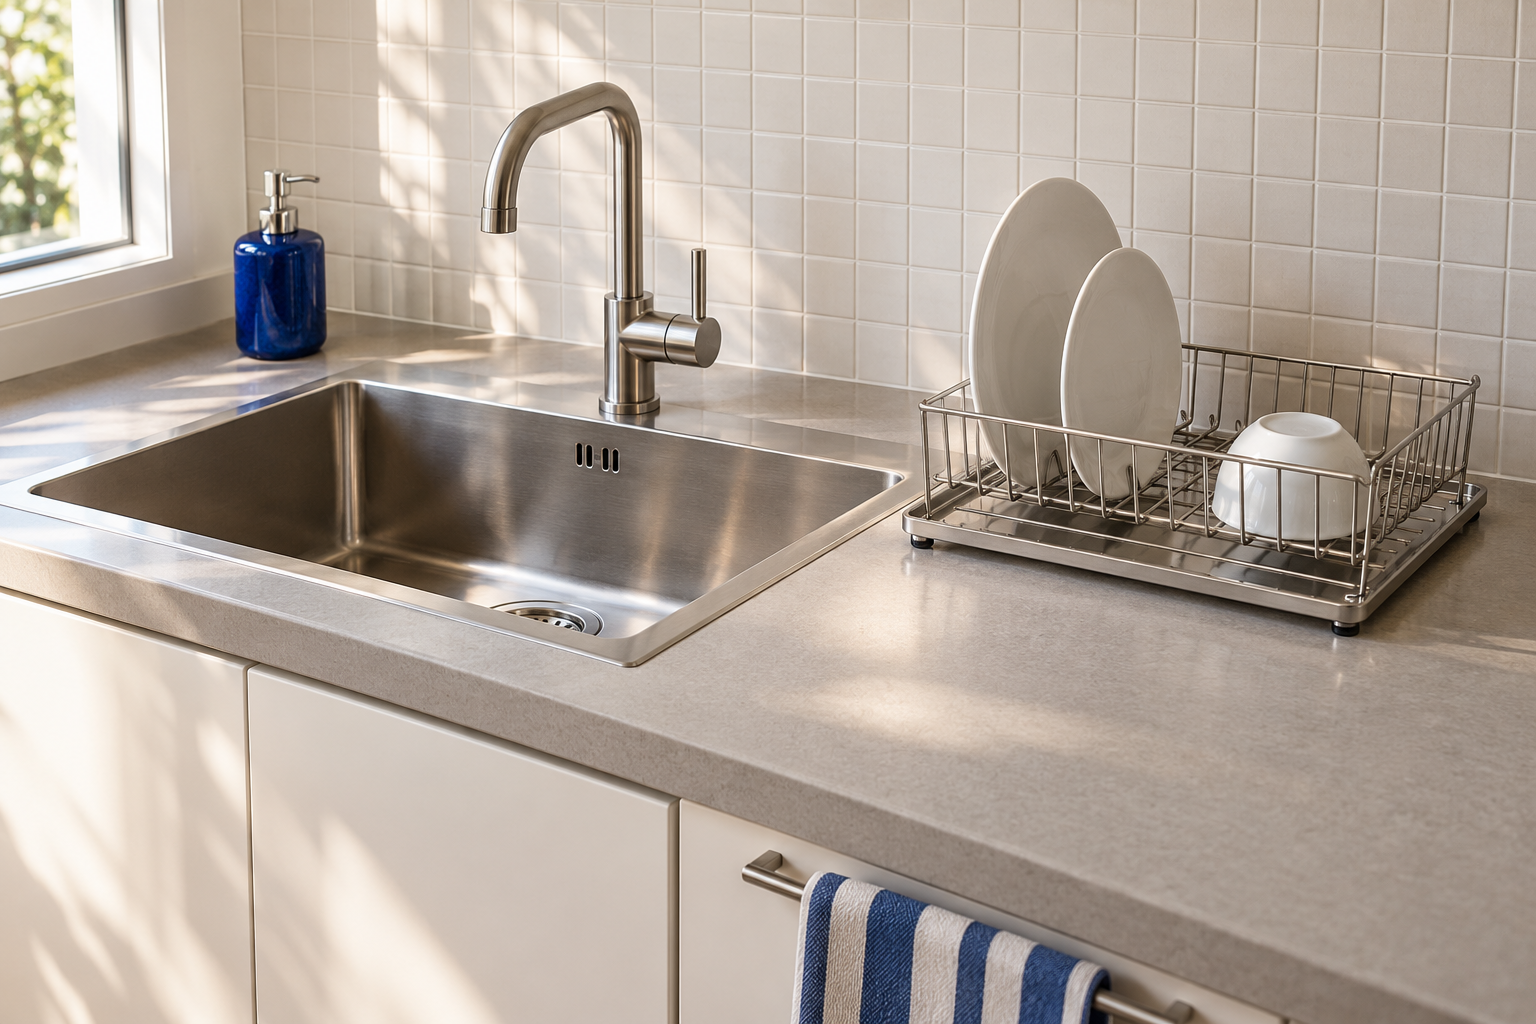
4. Washing Up: Steel, Blue, and Stripes
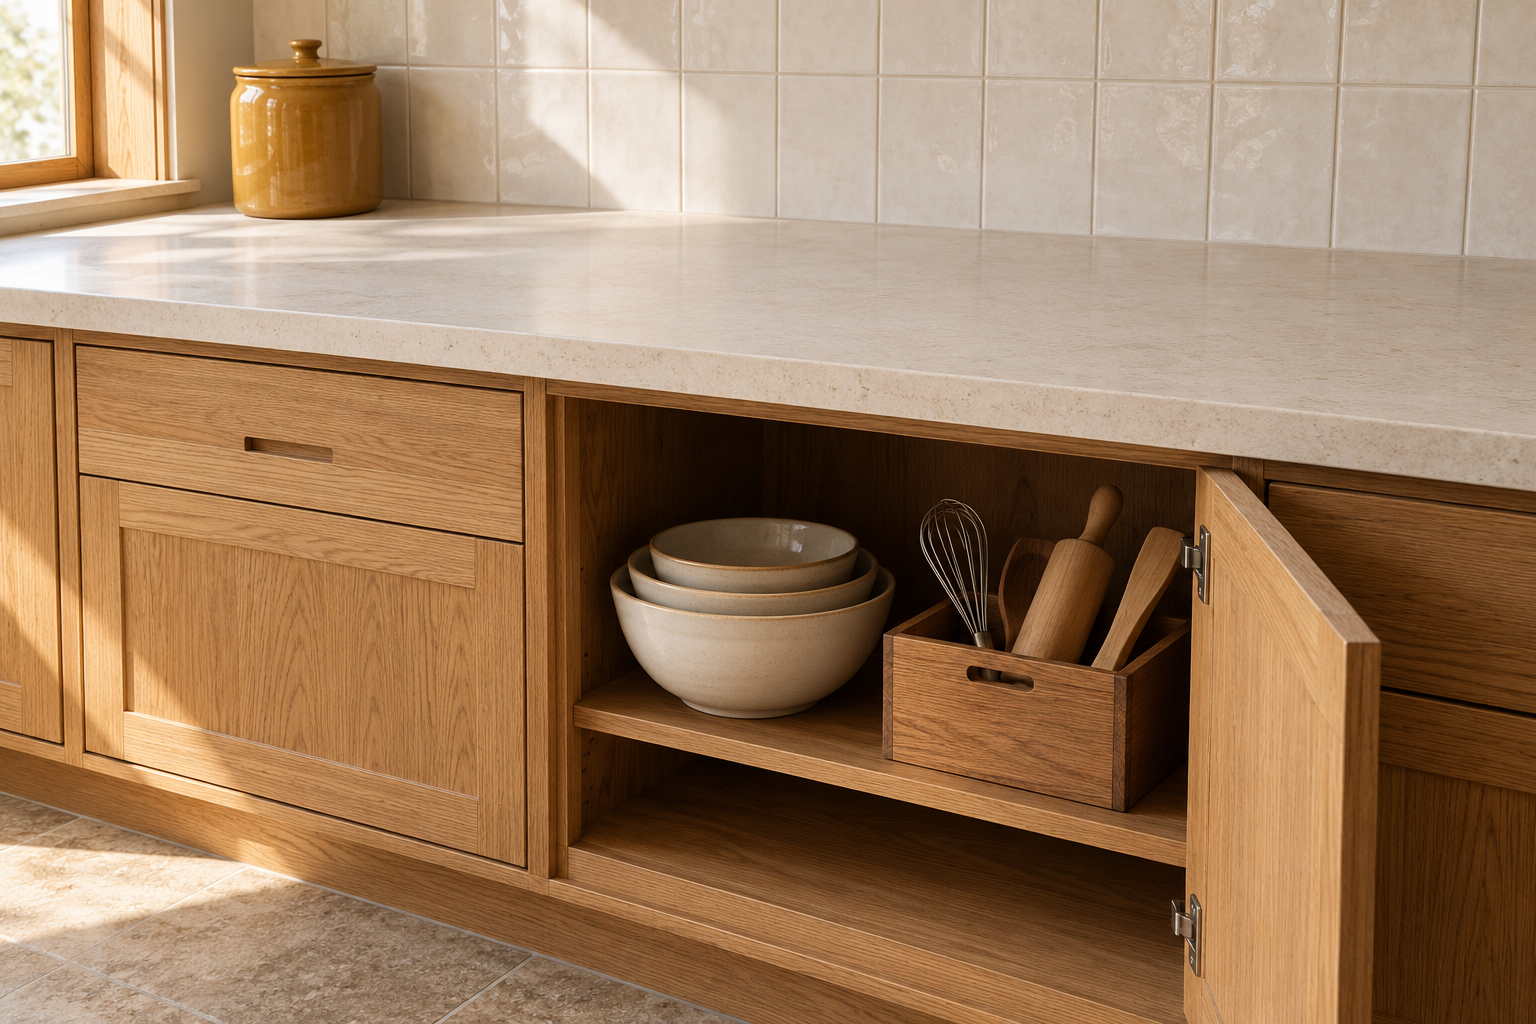
For a sink-centered arrangement, coordinate a stainless draining rack with a blue soap container and a striped towel. The steel relates visually to a stainless sink, while blue and stripes give the practical pieces a shared palette. Choose this look when washing up is the activity that most often determines how your counter looks.
Place the rack beside the basin so sink access stays open, and fold the towel over a nearby existing cabinet handle without letting it trail into the sink. Put dry dishes away rather than making the rack their permanent home. Between meals, the rack, soap container, and towel can carry the composition without extra ornaments.
Protect the space you actually work in
Whichever look you choose, keep the most useful stretch of counter clear. A common rule of thumb is a clear run of about 24 to 36 inches for chopping and mixing, plus a landing spot of around 15 inches beside the fridge and next to the cooktop, so hot pans and groceries always have somewhere to go. Decorative pieces belong at the back or the ends, never in that working stretch.
The daily-use test
Before arranging anything, take everything off the counter. Put back only what you use every day; the rest goes into a cabinet or drawer near where it is used. Most kitchens end up with three or four things on the counter, which is exactly what makes each of the four looks above read clearly.
Appliances and safety
Keep the clearances each appliance’s instructions ask for, especially around toasters, kettles and coffee makers, and keep ceramics, wooden utensils and textiles away from heat. Unplug small appliances you use only occasionally and store them, which frees counter space and keeps cords tidy.
Carry the palette further
The accent color you choose for the counter, whether cobalt, tomato red or ochre, can be repeated once more in the room: a tea towel, a pendant shade or a cabinet knob. For bigger changes, see green kitchen looks with different materials and kitchen ceiling looks.