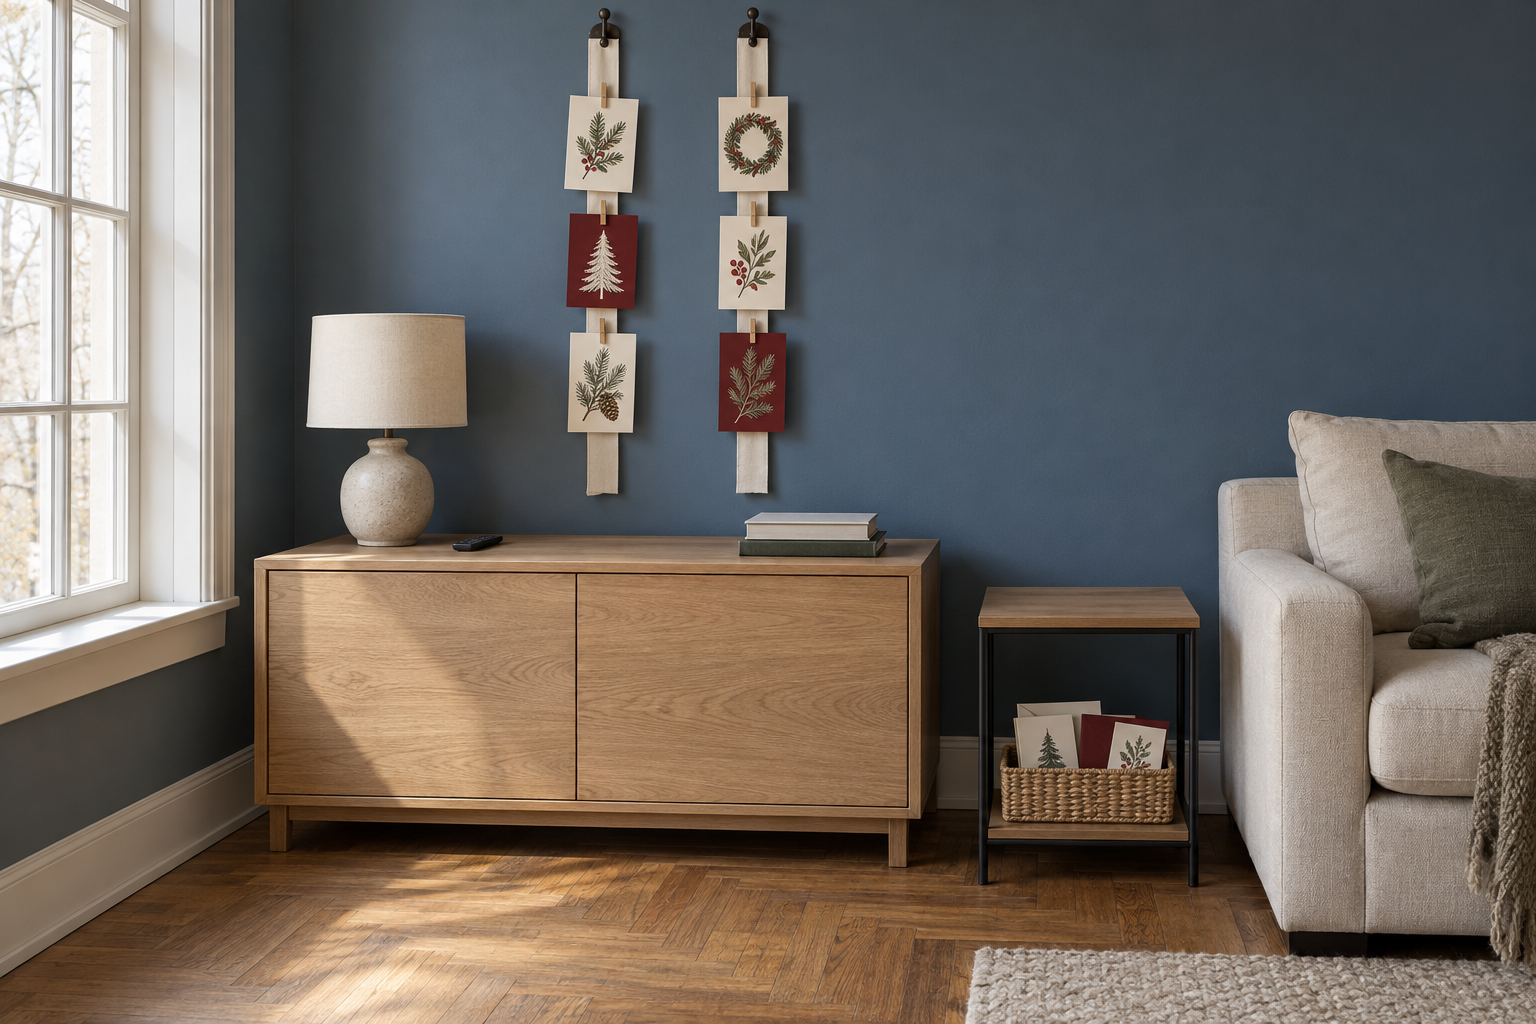
Cream ribbons, pale wood and understated metal give varied Christmas-card artwork a shared setting against slate blue.
 Concept image
Stand folded cards where a narrow surface strip is genuinely spare, hang clipped fronts when the cabinet is already busy, or keep messages in a shallow basket beside seating. Choose according to what needs to stay usable—and how often you want to open the cards.
Explore the ideas
- 1. Reserve a cabinet-top strip for folded cards
- 2. Clip cards to vertical ribbons
- 3. Step card fronts upward in a wire holder
- 4. Overlap photo-card edges on an existing ledge
- 5. Frame the fronts you want to linger over
- 6. Run a clipped row beneath a display shelf
- 7. Align flat cards in clear pockets on a panel
- 8. Keep long messages in a reading basket
1. Reserve a cabinet-top strip for folded cards
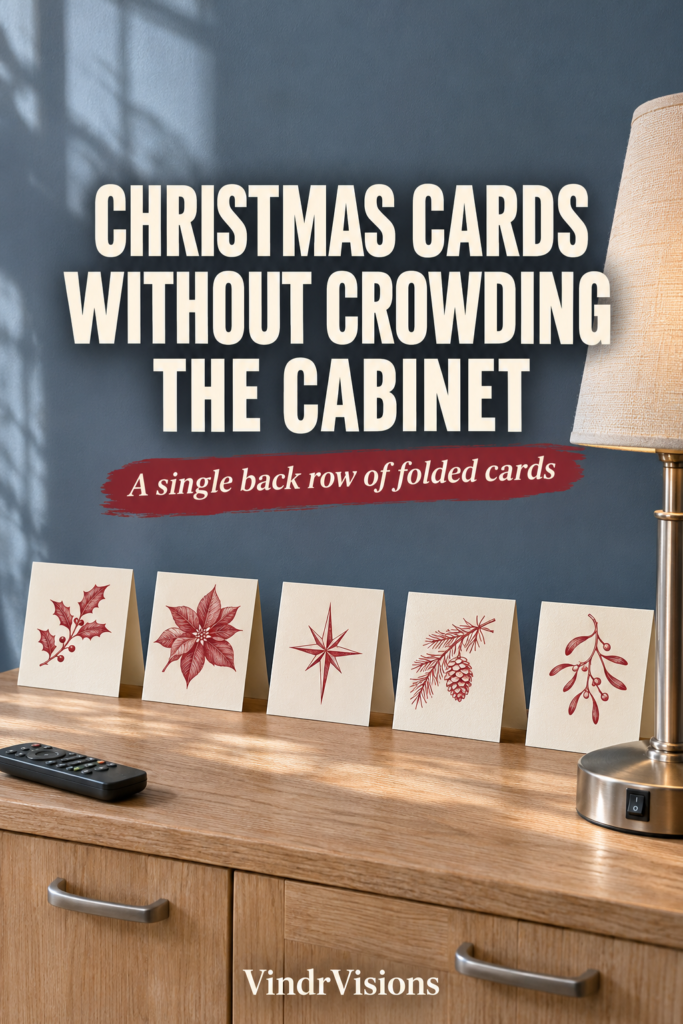
Keep folded cards in a single line along the back of a pale-wood cabinet, with their illustrated fronts facing the room. Against slate blue, cream paper and restrained red details make an appealing seasonal combination. This suits a small collection when you still have a genuinely spare strip behind everyday objects.
Keep the lamp switch, remote and cabinet handles accessible rather than threading cards around them. Add arrivals at either end while the strip remains clear; once it fills, rotate favorites or move messages to the reading basket. Leave enough separation to lift and open one card without disturbing its neighbors.
2. Clip cards to vertical ribbons
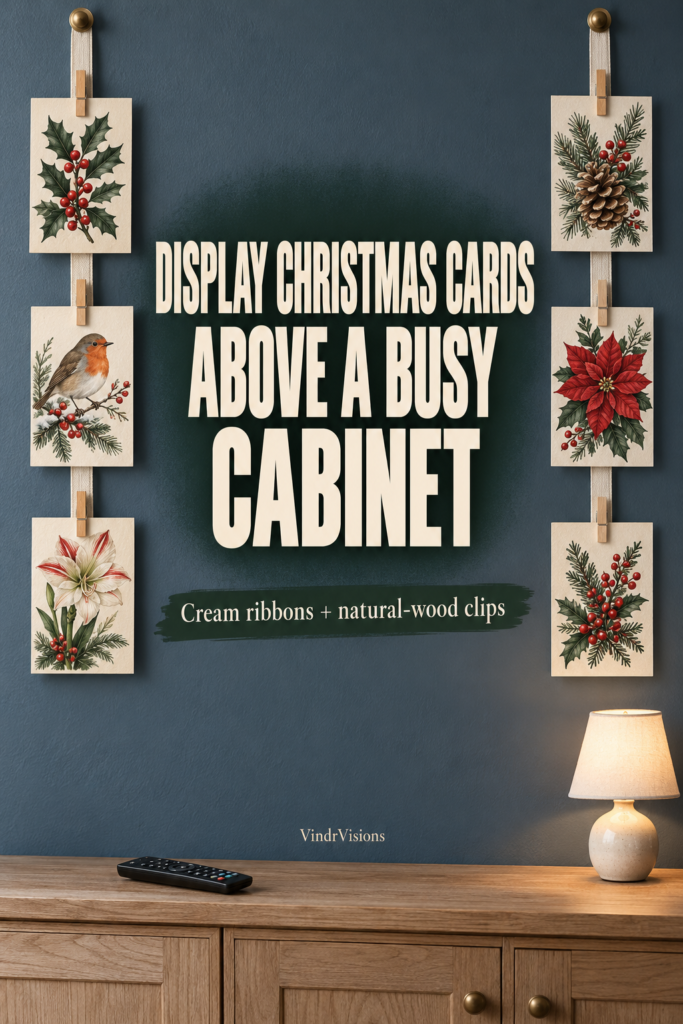
For an occupied cabinet, move the display to a narrow wall area above or beside it. Pair cream fabric ribbons with small natural-wood clips; the pale materials echo the cabinet while the cards supply the color. Secure each ribbon to a suitable wall fixing, with clips gripping both ribbon and card.
Add arrivals down the ribbons, leaving each front visible rather than overlapping the artwork. Unclip a card to read inside, then return it to its place. Pick this one if you enjoy watching the display grow; start another ribbon only where the wall fixing and available space support it. The checked ivory satin comes in a 20-color assortment and is narrower and glossier than the broad matte ribbons illustrated. Check clip grip with your cards before hanging them.
Mr. Pen · Wood · 1.4 inch, 132 pcs
For lightweight cards, natural wood clips on separately supplied vertical ribbon echo pale wood and keep everyday cabinet space available.
Product details
Mr. Pen · Wood · 1.4 inch, 132 pcs
- Color: Wood
- Size: 1.4 inch, 132 pcs
- Material: Wood
Rainbow Satin Ribbon Set – 20 Colors, 3/8" x 5 Yards Each, 100 Yards Total
Ivory from this 20-color satin assortment offers a narrower, glossier alternative to the broad matte ribbons illustrated; check clip grip with your cards.
Product details
Kryvus · Rainbow Satin Ribbon Set – 20 Colors · 3/8 Inch x 100 yards Total
- Color: Rainbow Satin Ribbon Set – 20 Colors
- Size: 3/8 Inch x 100 yards Total
- Material: Polyester
- Product Dimensions: 9.25"L x 0.59"W
3. Step card fronts upward in a wire holder
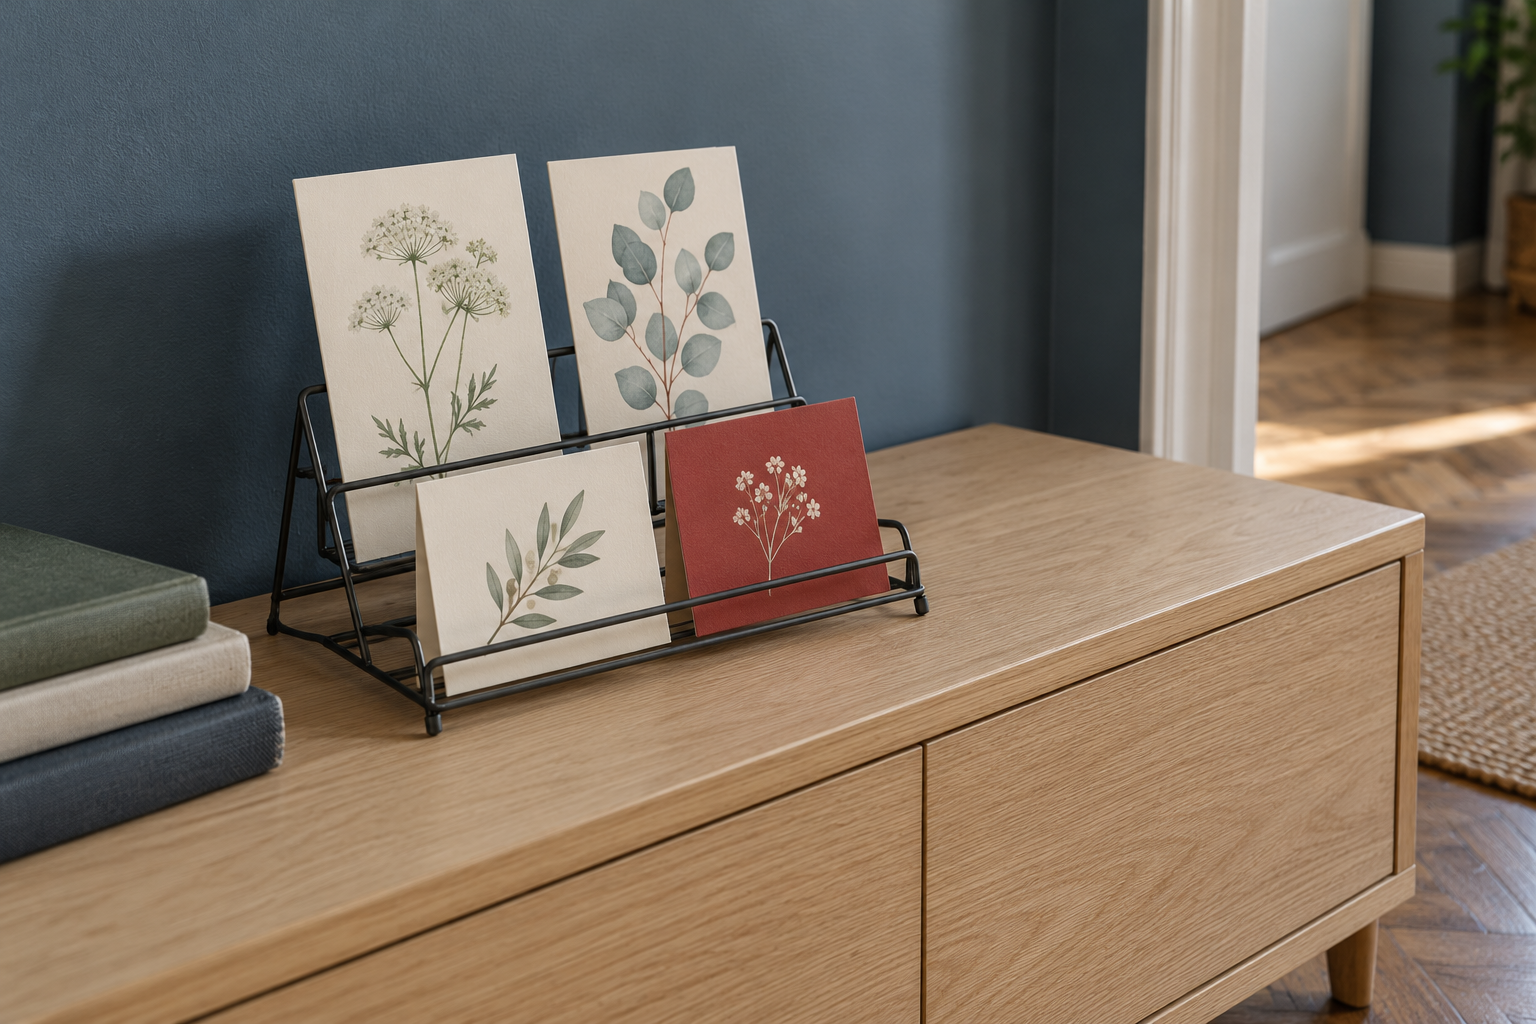
Choose a tiered wire holder when you want a gathered tabletop display rather than a long row. An understated dark-metal outline would sit comfortably against pale wood and let cream or illustrated fronts take the lead. Place shorter cards forward and taller ones behind so the upper tiers contribute something visible.
Before choosing a holder, verify that its supports accommodate your cards and keep them upright; a photo holder is not automatically suitable for every greeting card. Add arrivals to open positions and lift cards out to read. This option suits an orderly grouping, while ribbons offer more freedom to spread cards apart.
4. Overlap photo-card edges on an existing ledge
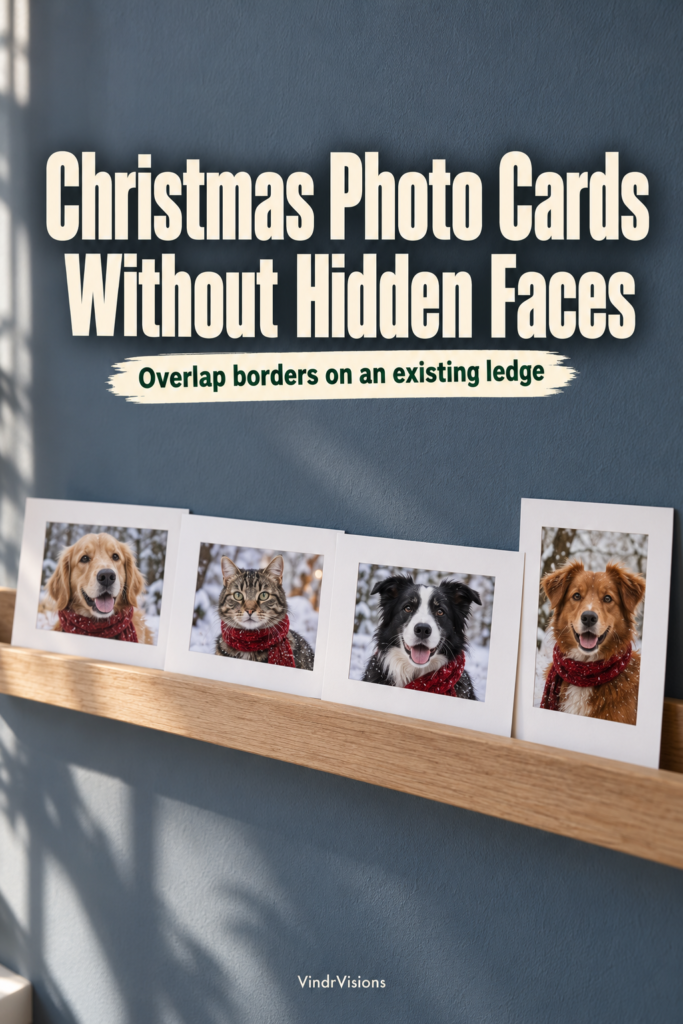
Use an existing picture ledge for flat photo cards, overlapping blank borders rather than faces. Group landscape cards loosely together, then let a taller portrait card interrupt the line. Use this arrangement if you want family photographs to lead the display instead of arranging every card by size or color.
Make sure each card rests on the ledge base behind its retaining lip. As arrivals join, shift neighboring edges only while every face remains visible; otherwise, rotate the selection. Pull a card forward to read its back. For a folded card, leave room to remove and open it rather than wedging it flat.
5. Frame the fronts you want to linger over
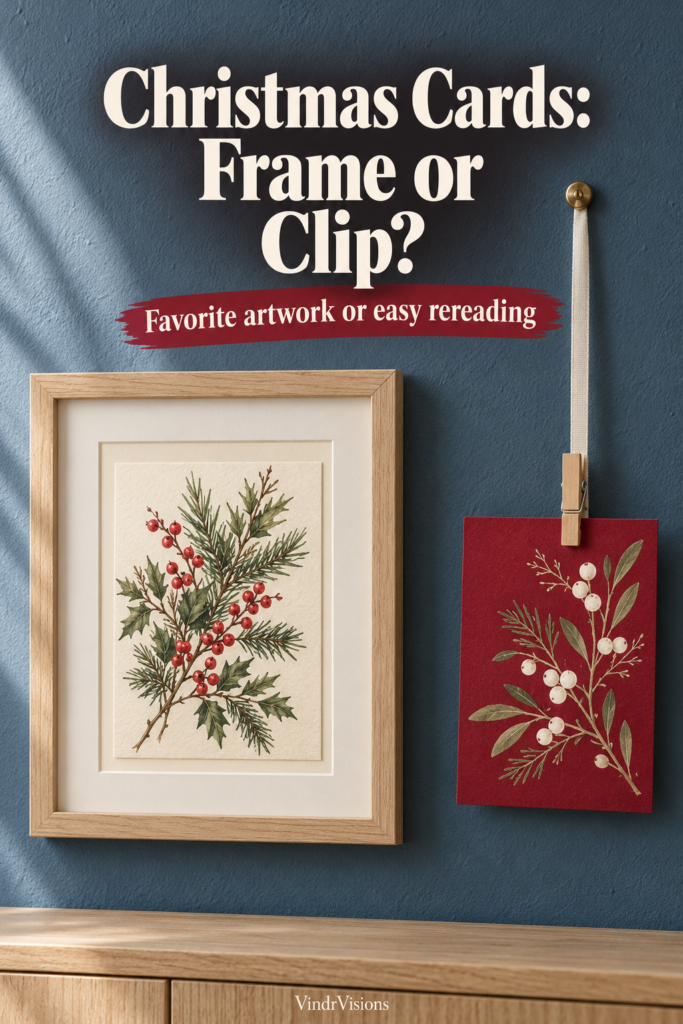
Choose slim pale-wood or muted-metal frames for a few flat cards whose artwork belongs together. A cream botanical illustration beside a deep-red graphic front can feel deliberately composed without matching exactly. This suits a selective seasonal display, especially if you already have frames you can temporarily reuse.
Frames prioritize the front: remove a card from its frame to read the back. Keep frequently reread messages elsewhere, and introduce arrivals by replacing a displayed card rather than continually adding frames. If easy reading matters more than a composed arrangement, choose removable clips instead.
upsimples 11×14 Picture Frame Solid Wooden, Nursery Decor, 1Pack Natural
For selected Christmas-card artwork, this natural-wood frame suits a composed display; check the opening and remove cards to read their backs.
Product details
upsimples · Natural
- Color: Natural
- Product Dimensions: 11"L x 14"W
- Mounting Type: Wall Mount
6. Run a clipped row beneath a display shelf
Let an existing shelf hold its usual objects while a horizontal card row occupies the wall beneath it. A plain cord with natural-wood clips gives the cards a relaxed line; repeating a nearby understated metal finish in the attachments would make a quieter alternative. This suits a wider wall patch rather than a narrow alcove.
Use attachments appropriate to the shelf material and the weight of the complete display; decorative shelf edges are not automatically attachment points. Keep hanging cards clear of objects below. Clip arrivals into open gaps and unclip them for reading. When gaps disappear, rotate cards rather than allowing the row to conceal itself.
7. Align flat cards in clear pockets on a panel
For readers who prefer aligned edges, arrange clear adhesive pockets on a separate smooth panel, with a fitting flat card in each. A pale backing would link the display to wood furniture, while slate-blue backing would visually connect it to the wall. Keep the arrangement simple so the card fronts remain the focus.
Cards slide out for reading; the adhesive pockets stay attached to the panel. Their adhesive is not verified as removable or wall-safe. Check that your cards fit and slide through the accessible openings without bending, and verify the panel's mounting separately. Add arrivals to empty pockets or swap the selection. Choose another display for bulky folded cards or if you want to rearrange pocket positions frequently.
IMAGAME Clear Adhesive 4" x 6" Index Card Pockets, Labels Holders, 50 Pack
For fitting flat cards, adhesive pockets on a separate smooth panel align fronts; cards slide out, while pockets stay attached.
Product details
IMAGAME · Clear · 4-5/8" x 6-5/16" for 4" x 6" Cards
- Color: Clear
- Size: 4-5/8" x 6-5/16" for 4" x 6" Cards
- Material: Plastic
8. Keep long messages in a reading basket
Place a shallow basket on a low shelf or side table beside seating, with cards resting flat inside. Pale woven material would soften the slate-blue and metal palette; a plain shallow tray is a worthwhile substitute if you prefer straighter lines. This suits households that want to read the messages, not just display the fronts.
Put new arrivals on top, then lift cards out to browse rather than packing them upright and tightly together. Keep the basket easy to reach without occupying the spot needed for a drink. Pair it with a selective wall display: favorite fronts stay visible, while longer letters remain available for another read.
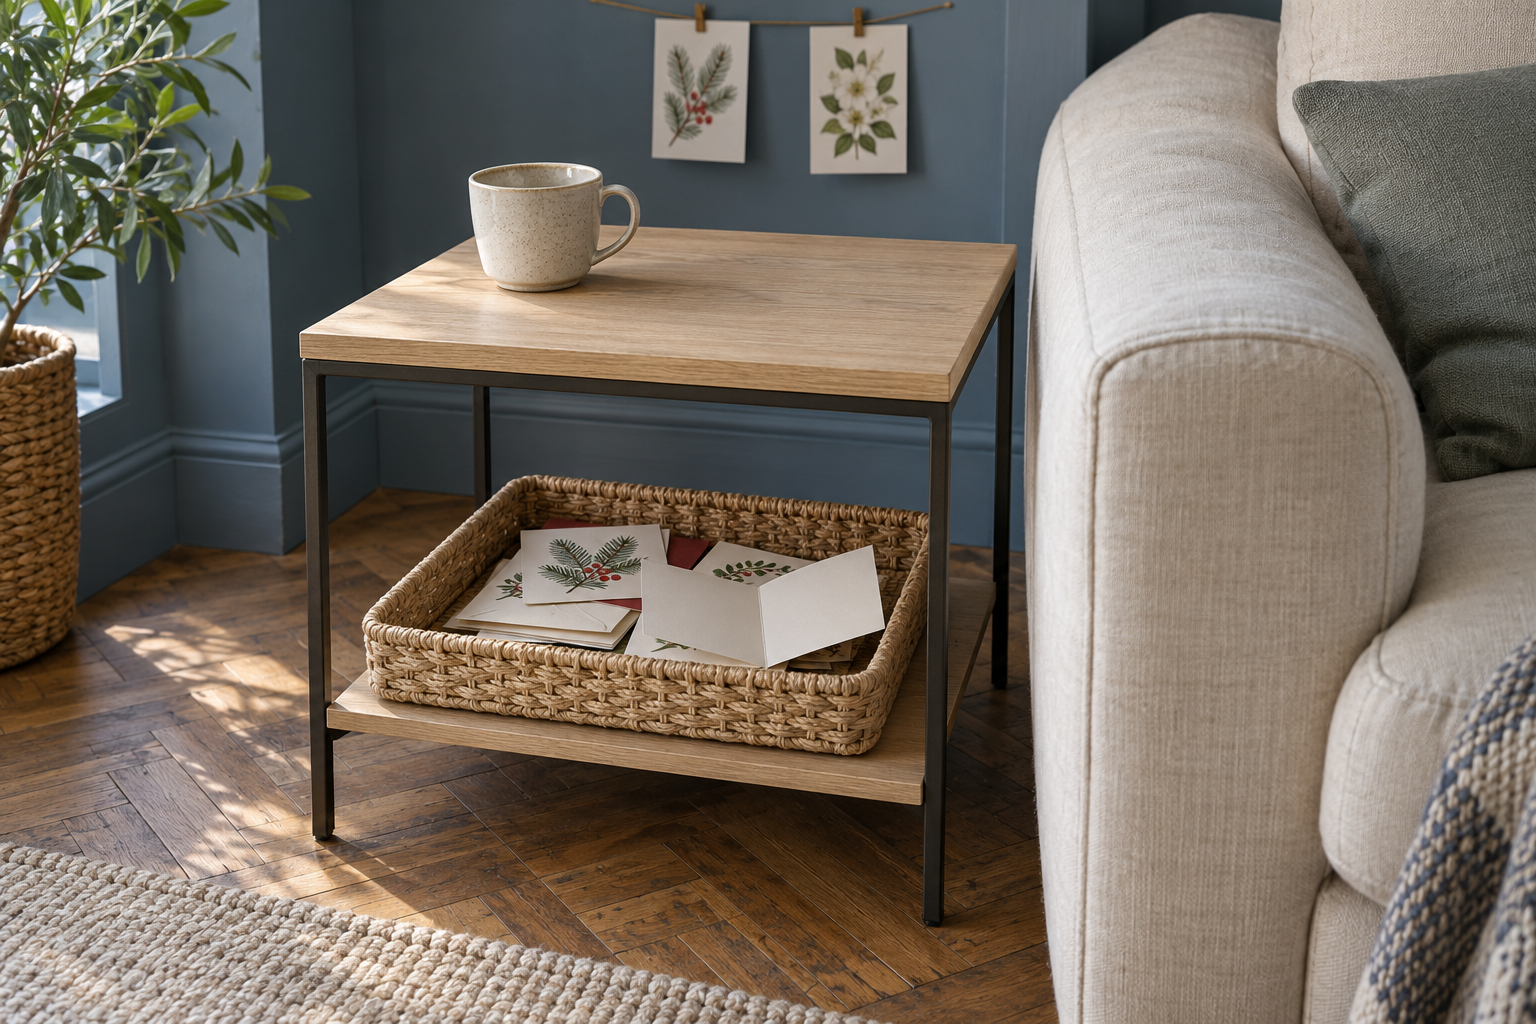
Bam & Boo · Bamboo · 12.5" x 7" x 0.8"
Use this shallow bamboo tray instead of the illustrated woven basket for cards and letters, checking that they lie flat inside.
Product details
Bam & Boo · Bamboo · 12.5" x 7" x 0.8"
- Color: Bamboo
- Size: 12.5" x 7" x 0.8"
- Material: Bamboo
- Product Dimensions: 12.5"L x 7"W x 0.8"H
Affiliate links. As an Amazon Associate I earn from qualifying purchases. Not hands-on tested; the illustrations do not show these exact products.