Choose a bedroom desk by testing the seated chair, screen position, and route to the bed together. A wall fit alone leaves too much unanswered.
4 min read
Buy only after a mockup works with your actual chair and equipment. Test the passage while someone is seated, measure eyes to screen, and rehearse standing up and opening nearby drawers.
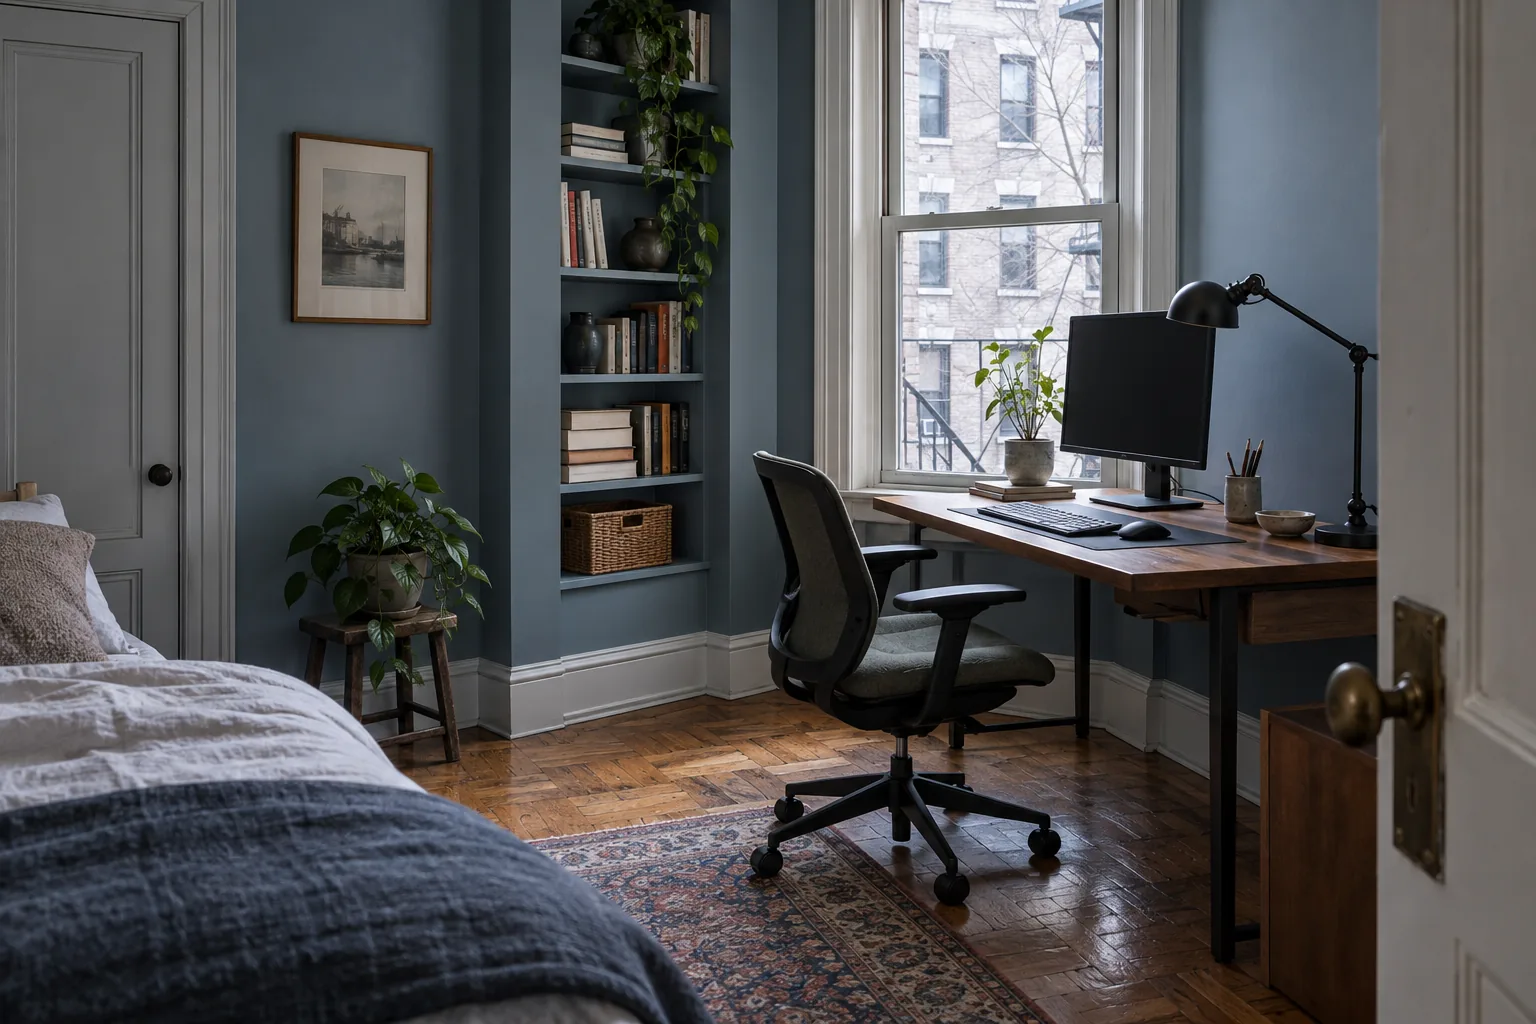 Concept image
Jump to an idea
Check the occupied chair before choosing desk depth
Tape out the proposed desktop footprint, then use an existing table to rehearse the setup with your chair. Measure from the wall to the nearest projecting part of the bed, including its frame. Measure chair projection from the desktop’s front edge to the chair’s rearmost point while seated in your working position; catalog chair depth does not establish that measurement.
In a hypothetical room, an 84-inch wall-to-bed gap minus a 24-inch desktop and a personally measured 26-inch occupied chair projection leaves 34 inches: 84 − 24 − 26 = 34. That remainder is not a safety or accessibility certification. Choose a personal passage target by walking the route with the chair occupied, then rehearse sitting down and standing up. Verify any applicable access requirements separately.
Fit the screen and keyboard on the proposed top
Set your actual keyboard and screen on the mockup. OSHA’s workstation guidance recommends a monitor directly in front of you, at least 20 inches from your eyes, with frequently used equipment within easy reach. Measure eyes to screen while seated and using the keyboard. A 24-inch-deep desktop does not establish a 24-inch viewing distance.
A shallower top leaves more room behind the chair but may crowd the equipment. A deeper top gives the arrangement more room while reducing the passage. Compare both using the same seated position. Apply these checks to a console table, too, and confirm that its manufacturer permits the intended equipment load before treating it as a computer desk.
Start beside the window, then test reflections
Start with the window beside the workstation and the screen face at right angles to it, following OSHA’s glare guidance. Check the intended screen in the morning and afternoon from your seated position. A corner that looks appealing in a room photo still needs this trial.
Switch on the task light and adjust it so it does not reflect on the screen. OSHA notes that blinds or drapes can reduce glare; test the covering you would use. If reflections remain distracting, try another desk orientation before committing to this corner.
Check knees and drawers in use
Request the usable dimensions beneath the desktop and the positions of drawers, braces, and legs. Overall desk width can conceal space occupied by those parts. In the mockup, check that your knees and feet have room in your working position and that you can reach everyday equipment without leaning around a pedestal.
Then open the desk drawer and nearby dresser. A layout can pass the occupied-chair calculation yet fail when storage access requires backing the chair into the bed route. Skip a candidate if routine drawer use or chair movement prevents the bed access you need, or its supports obstruct your knees and feet.
Record the dimensions before ordering
Keep one measurement sheet: desktop width and depth, wall-to-bed gap, occupied chair projection, eyes-to-screen distance, usable knee and foot space, and room needed to open drawers. Mark which candidate dimensions are confirmed and which still need manufacturer documentation.
Finish with a continuous trial: enter the bedroom, sit, use the keyboard, stand, open storage, and reach the bed without rearranging furniture. Skip the desk if your equipment cannot achieve the screen position above or the movement trial fails. Follow the manufacturer’s assembly and anchoring instructions; check your lease if installation requires wall mounting.
Sources and measurement notes
Worked dimensions are hypothetical planning examples. Product instructions apply to the exact item.